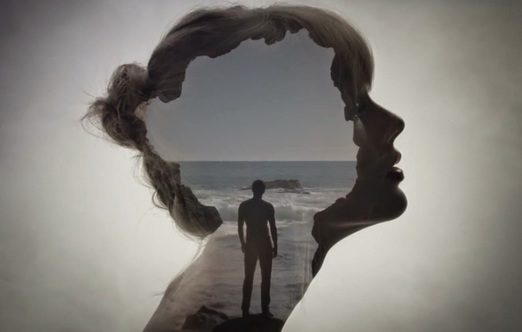
Double Exposure
This is a trendy effect that you may see a lot of these days, from Taylor Swift's music video, Style, to the opening sequence of the popular HBO show, True Detectives. Basically, you are blending 2 photos together,1 typically of a silhouette of a person and another of a landscape of some sort.
What you need to begin:
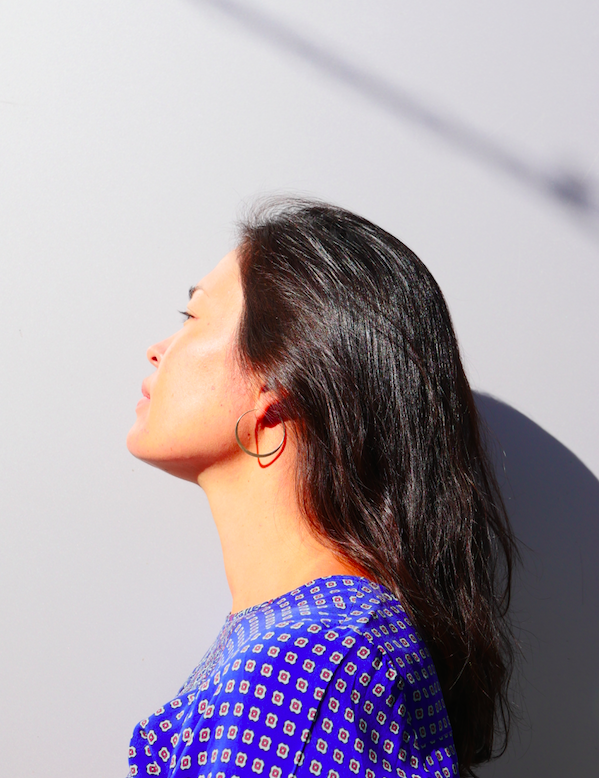
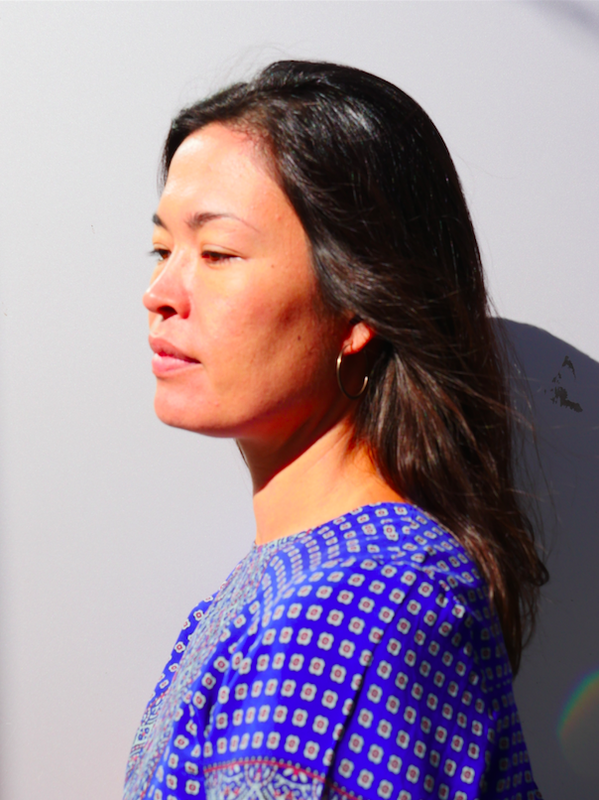
1. a high-res side profile photo of yourself where your silhouette is clearly defined on a plain white or neutral background. The light source should be on your face.
2. a high-res daytime landscape/cityscape photo (ideally, a place you have visited/lived/nationality etc) It should include some sky, so we can see a horizon of some sort.
Links for landscape/cityscape photos:
Flickr CC-search bar: cityscape or landscape-download original size of photo
Jonathan Bean Landscape Photos
SIDE PROFILE PORTRAIT: Look at my 2 examples that worked out from today. There are 5 other photos that were not as sharp or my eyes are closed or i'm squinting. I like the one on the right side better than the left because you can see more of my face. I took this out in the courtyard against one of the columns in the sunshine. It works as a plain background. Notice my face is towards the sun....keep your face towards the light.
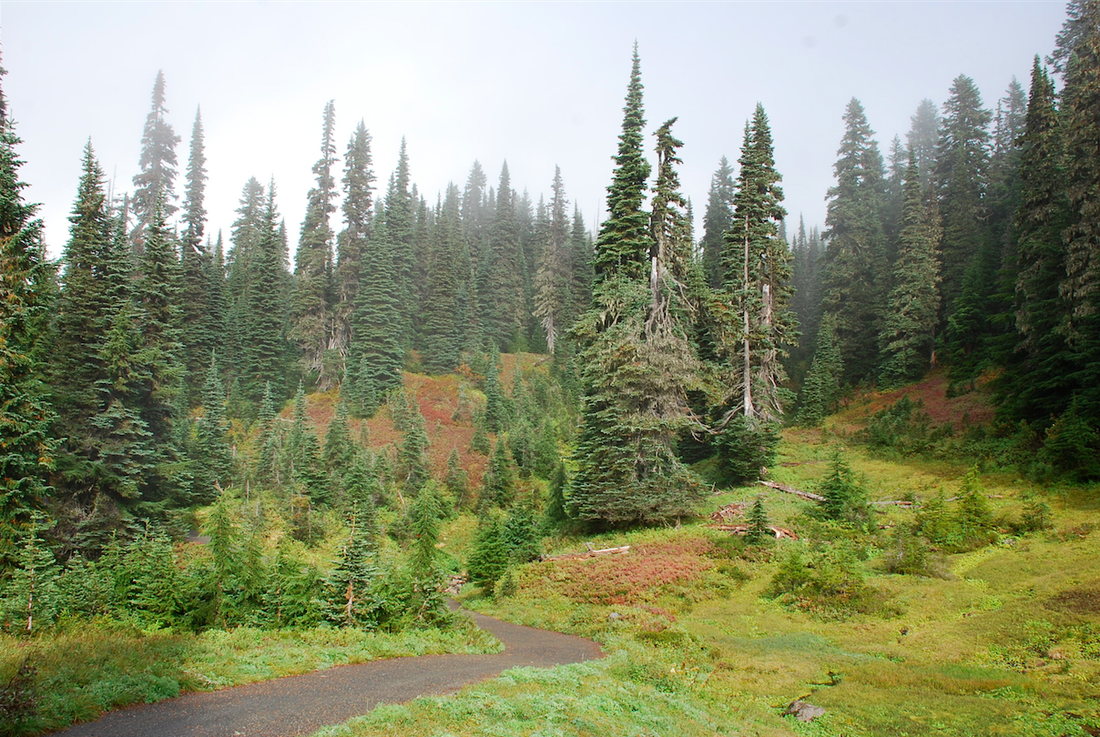
LANDSCAPE: I decided to choose a forest view because forests hikes are one of my very favorite things to do. I found this image through the Flickr CC link I pasted above for you. I searched for "forest vista". I made sure there is a horizon (meaning I can see some sky) because the outline of the trees will make for an interesting shape in the double exposure. Do not take a screenshot of your landscape, you need a large high resolution photo.
LANDSCAPE: I decided to choose a forest view because forests hikes are one of my very favorite things to do. I found this image through the Flickr CC link I pasted above for you. I searched for "forest vista". I made sure there is a horizon (meaning I can see some sky) because the outline of the trees will make for an interesting shape in the double exposure. Do not take a screenshot of your landscape, you need a large high resolution photo.
|
|
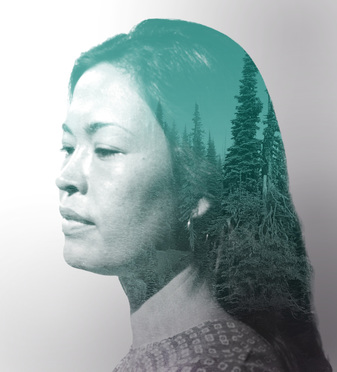
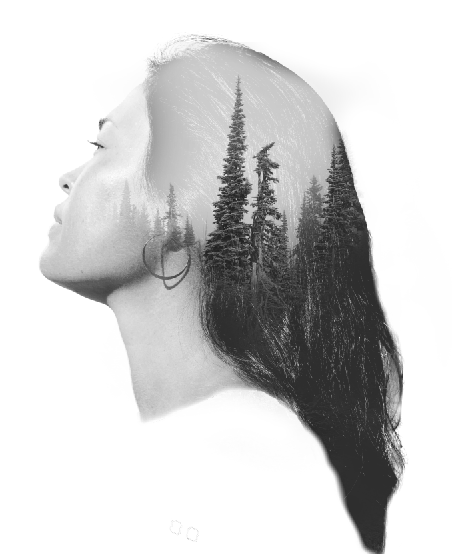
Below are my 2 attempts at double exposure.
First attempt on the left, second on the right. I like my second one much more for several reasons. As you can see I positioned the trees in a better spot so you can see the entire silhouettes of the trees. This looks much better in my hair. Also, there's much more contrast between the trees and the sky, as well as on the features on my face. The last reason is because I removed the shirt as I found the pattern distracting. Though from spending the time studying the image, I notice some errors that could be cleaned up at the top of the head.
First attempt on the left, second on the right. I like my second one much more for several reasons. As you can see I positioned the trees in a better spot so you can see the entire silhouettes of the trees. This looks much better in my hair. Also, there's much more contrast between the trees and the sky, as well as on the features on my face. The last reason is because I removed the shirt as I found the pattern distracting. Though from spending the time studying the image, I notice some errors that could be cleaned up at the top of the head.
|
|
After you try at least 2 double exposures with people (at least 1 of you), then you can try it out with hands or legs or a full body.
At the end of this, you should have at LEAST 2 successful double exposure portraits, if not more.
At the end of this, you should have at LEAST 2 successful double exposure portraits, if not more.
Tutorial videos for Double Exposure Effect
Video 1: First you need to delete you from your background.
Watch the first tutorial on how to delete yourself from your background in the cleanest way possible using the REFINE EDGE TOOL.
Video 1: First you need to delete you from your background.
Watch the first tutorial on how to delete yourself from your background in the cleanest way possible using the REFINE EDGE TOOL.
Once you have selected yourself out from the background, save your image on maximum quality as a JPEG, and then you are ready for the double exposure effect.
Double Exposure Tutorials
Each tutorial shows you 3 methods to make a double exposure image. The first one is the most simple.
Each tutorial shows you 3 methods to make a double exposure image. The first one is the most simple.
Here's another tutorial that a previous student found helpful. Here's the link to an alternative double exposure tutorial.
Below is a more COMPLEX video tutorial than the previous one, but some students took on the challenge of following it for more options in their background. Give it a go if you're keen.
Below is a more COMPLEX video tutorial than the previous one, but some students took on the challenge of following it for more options in their background. Give it a go if you're keen.
Now, try out another double exposure effect of your choosing, using the silhouette of a figure, the portrait of a kindergarten student, a hand photo etc. Look at some of the images below for inspiration!
Examples-Link to Double Exposure Board on Pinterest